Temporary Repair to Phoenix Cabinet Bottom.


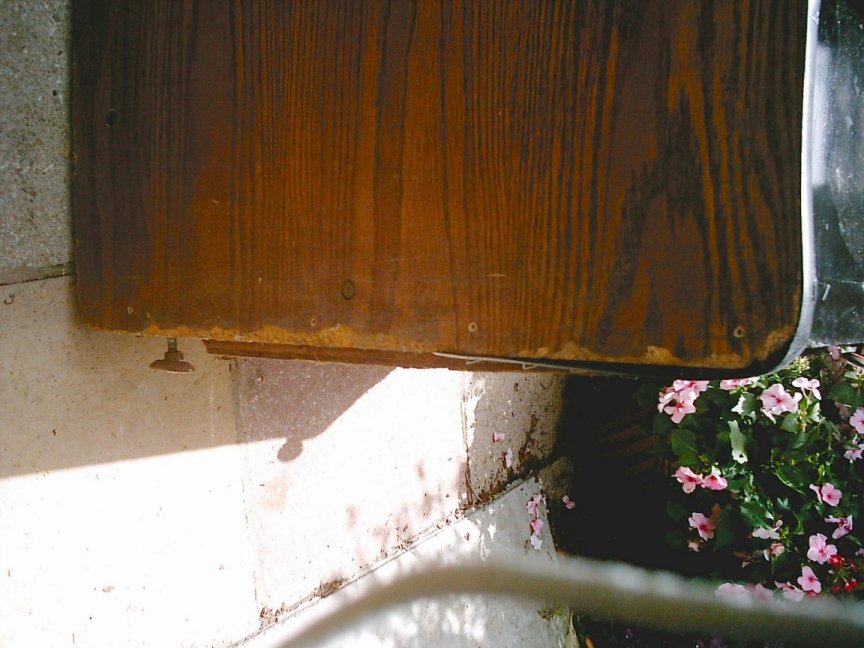
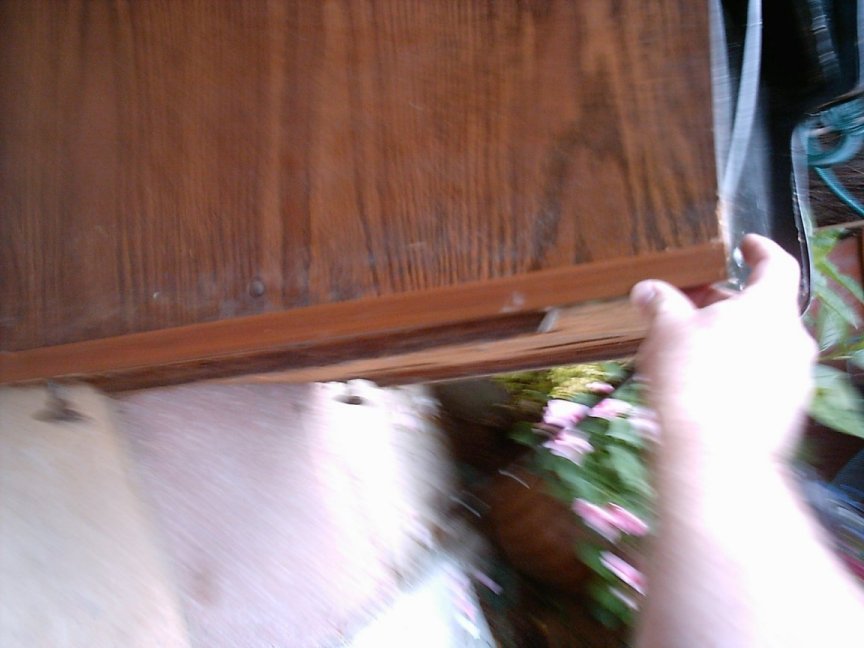
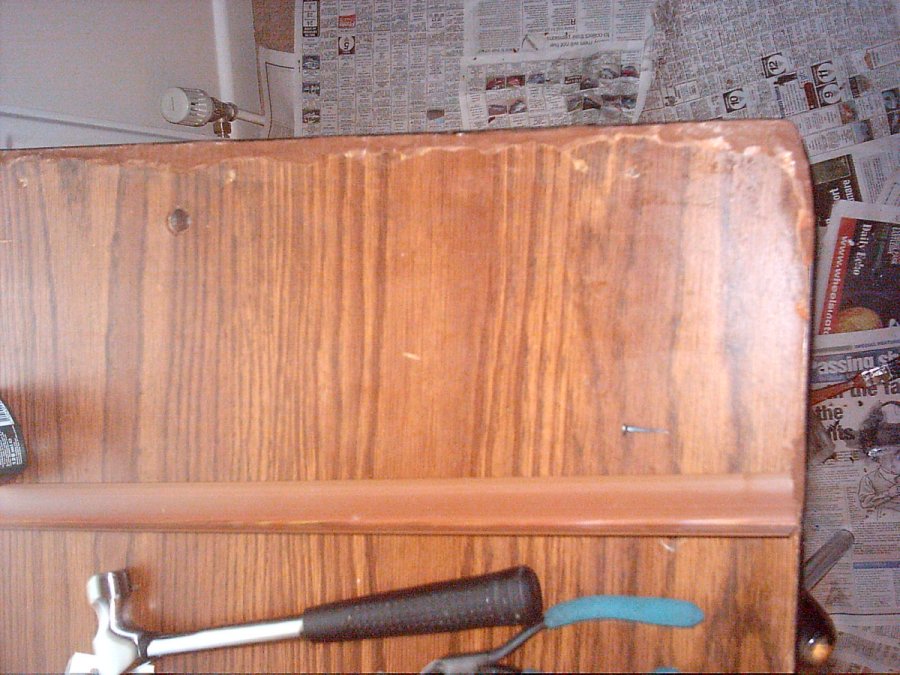
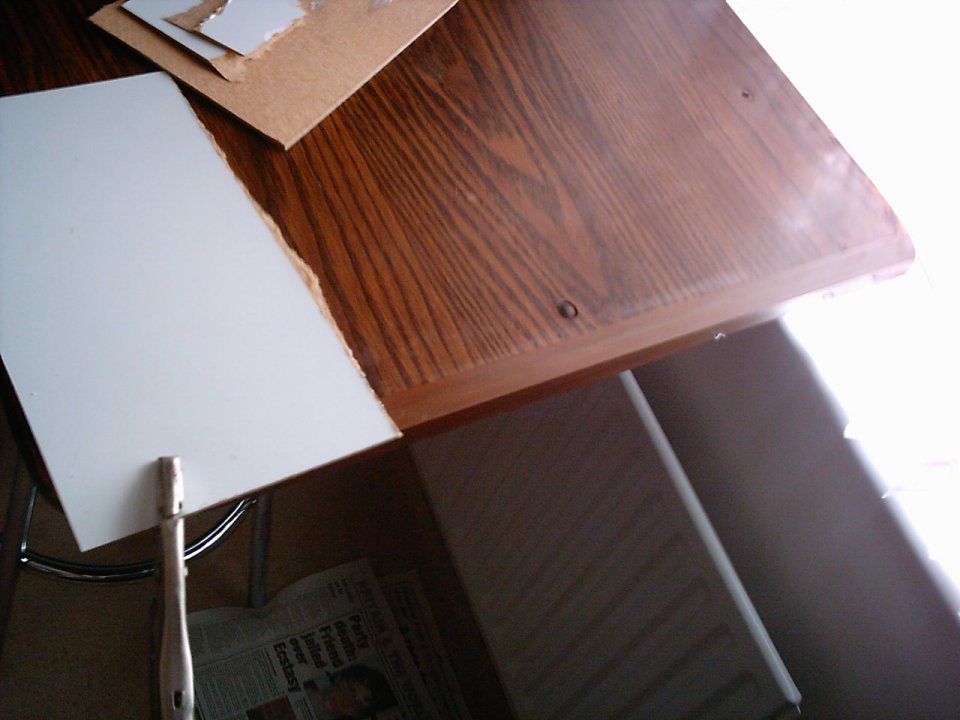
At some point in time my Phoenix cabinet had suffered, and had spent its time on a damp floor. The previous owner had fitted some horrible metal guards to the bottom of the cabinet. These were sharp, didnt really protect cabinet at all and cut into anything the cabinet was put on. It also looked really naff having this big black stripe at the bottom of the cab, espcially when its suppose to have a wood look.

The plan was to remove these guards, see how bad the botton of the cab was, and treat the wood and sort something so the machine could be moved inside, without damage to carpet etc.

Click To Enlarge

I begin to dismantle the phoenix cab
Click To Enlarge

All the bits that could be easily damaged were removed first .
Click To Enlarge

Half a phoenix cab left, the point of no return.
Click To Enlarge

With the metal guards removed, I could see the damage & screw holes..
Click To Enlarge

The plan was to cover the damaged wood with this edging.
Click To Enlarge

First thing was to clean the area, and apply a wood sealer, to prevent further wood rot.
Click To Enlarge

Next I fitted an old piece of T-molding to the bottom of the cabinet to create a shape
Click To Enlarge

and started filling the rough areas with brown wood filler. Allowing it to dry before sanding smooth.
Click To Enlarge

Next was to attach the edging, using FixIt. I used a clamp to keep in place until set.
Click To Enlarge

After setting, the edge was cleaned and trimmed.
Click To Enlarge

The repaired side ready to be re-assembled.


Rebuilding a Swimmer cabinet


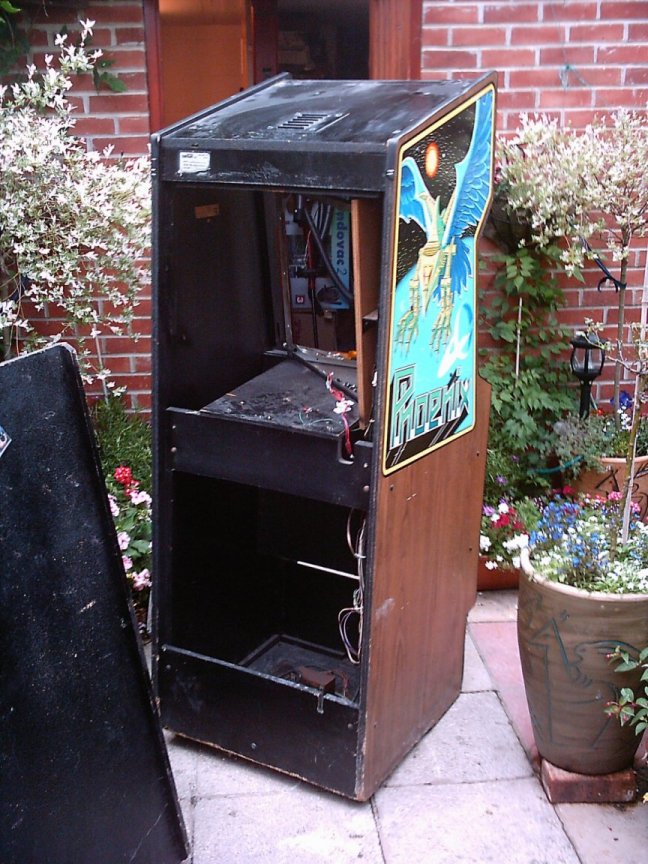
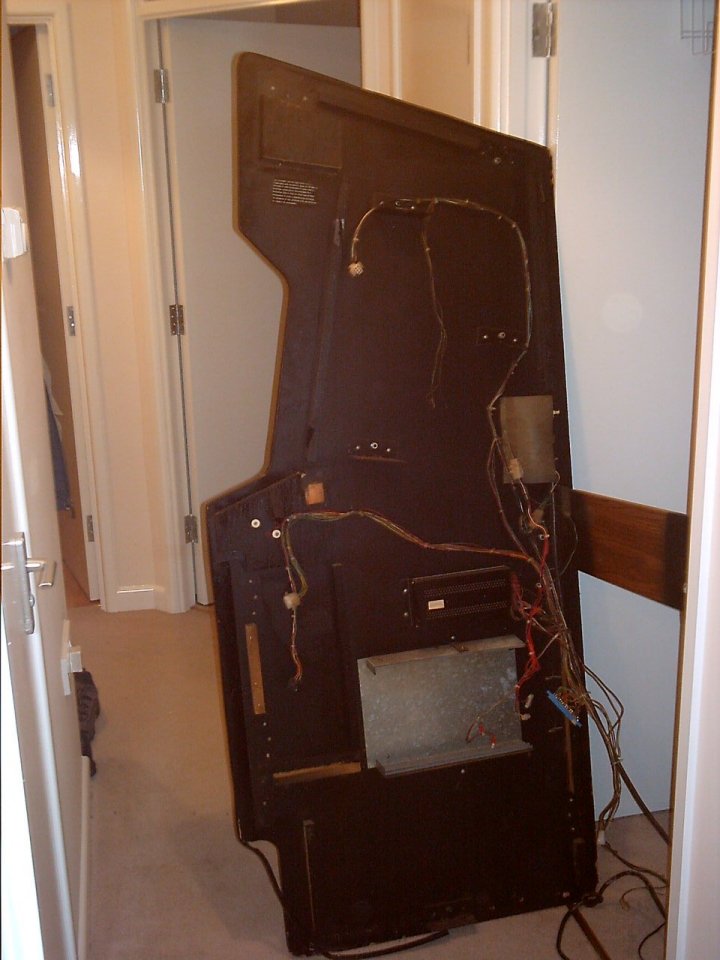
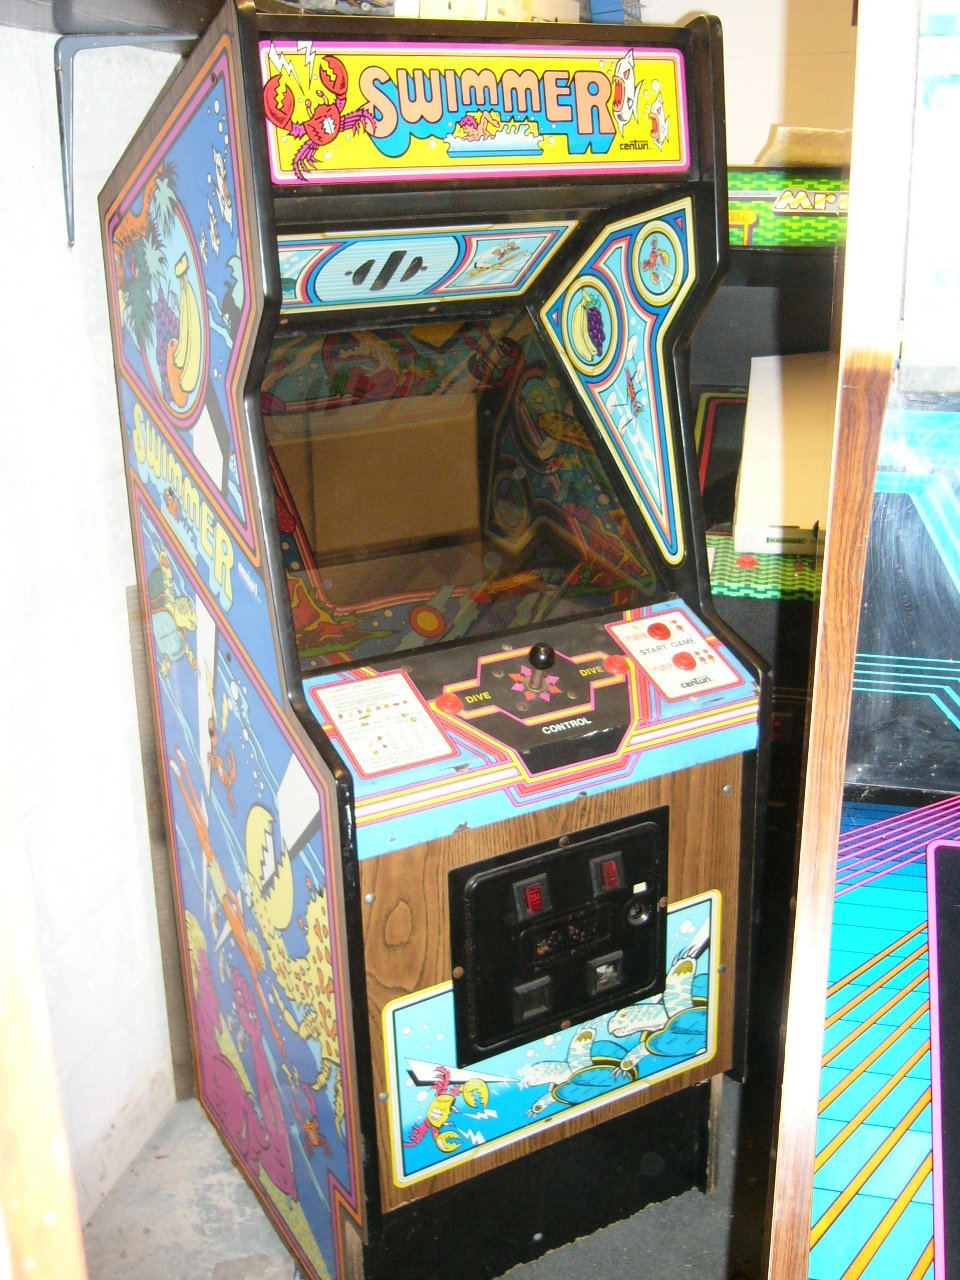
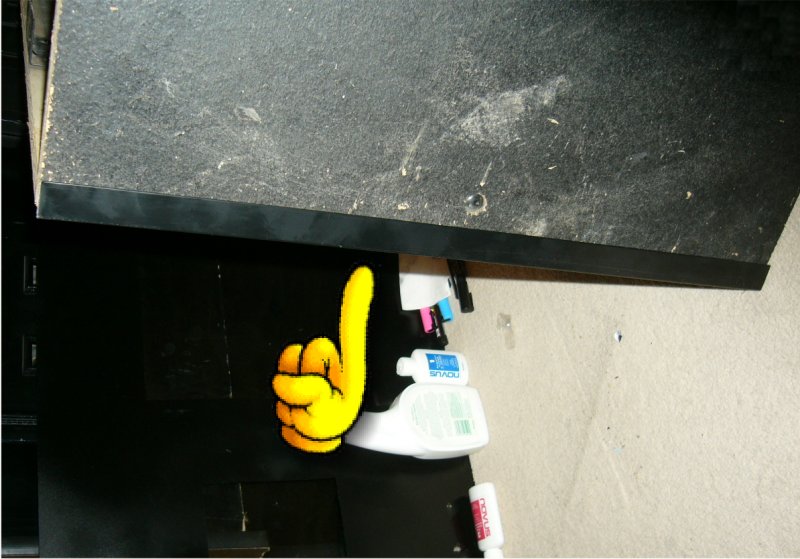
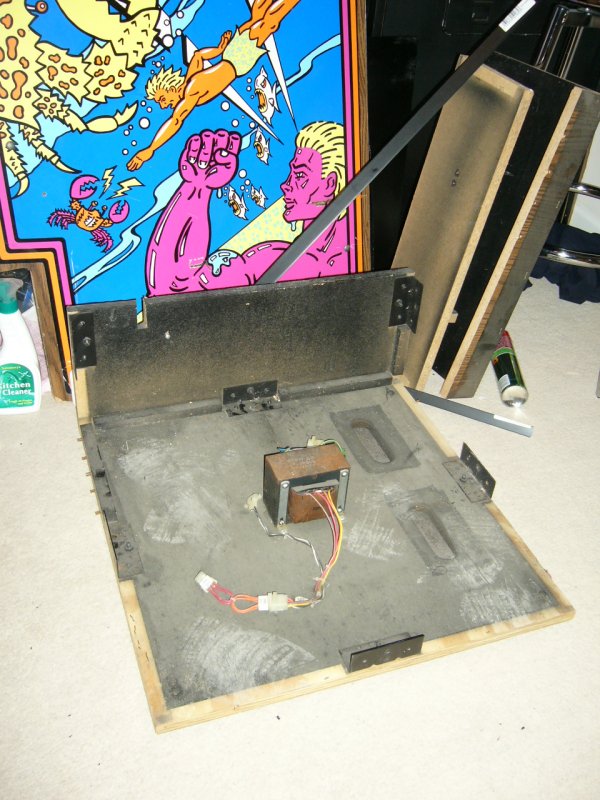
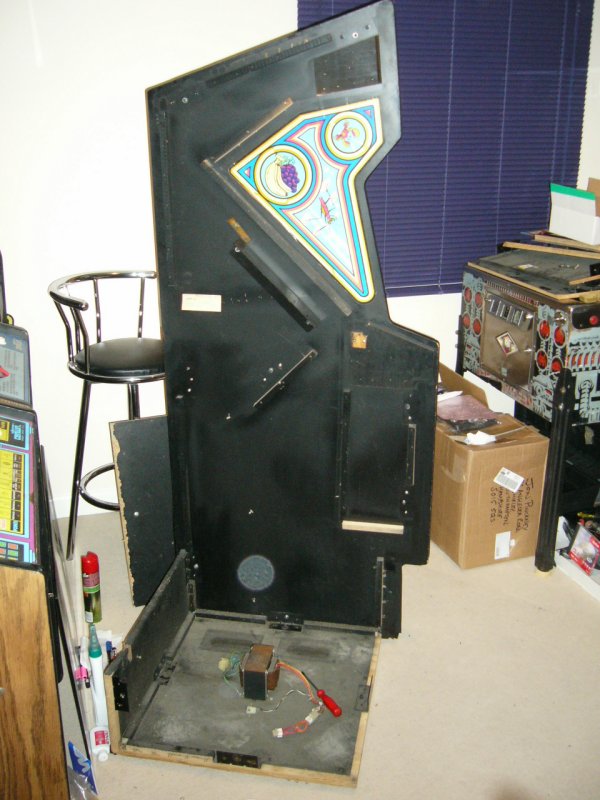
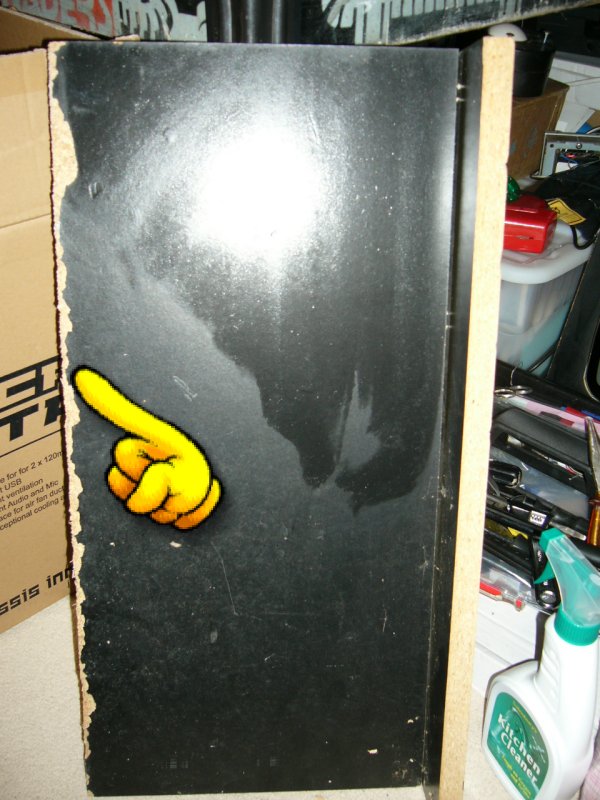
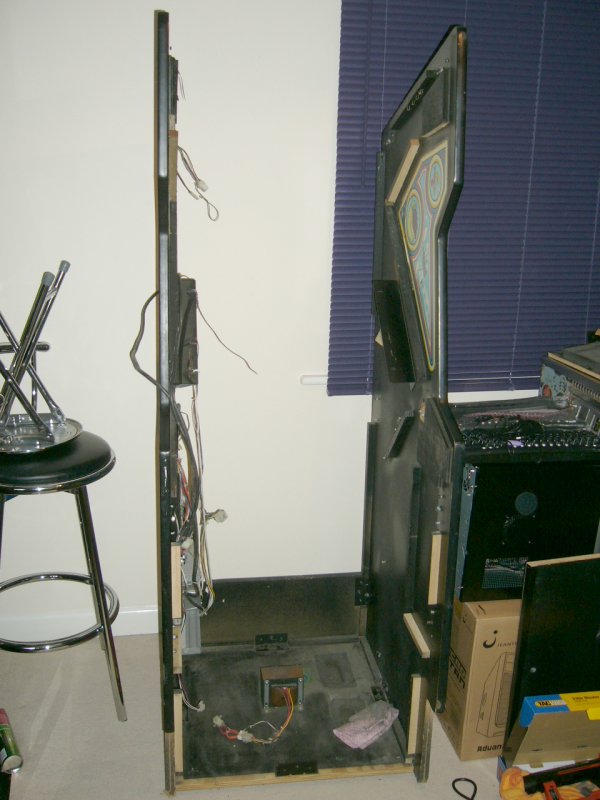
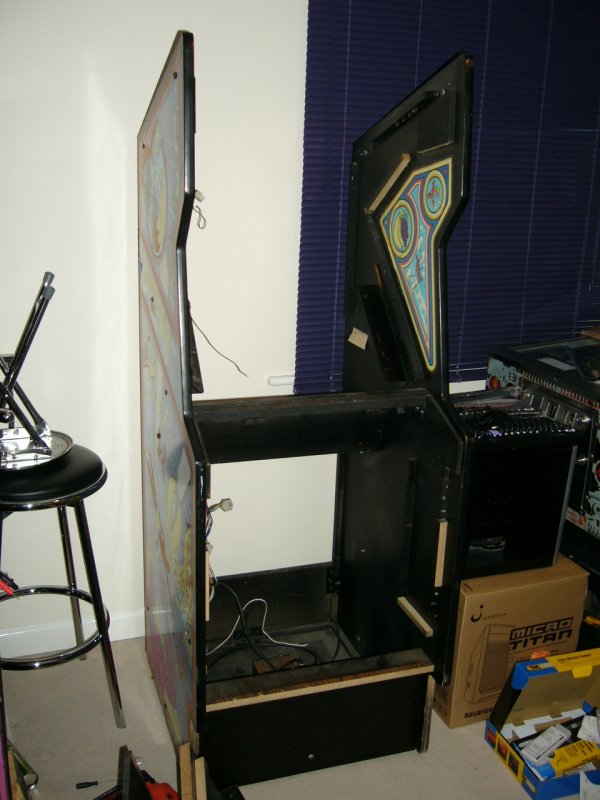
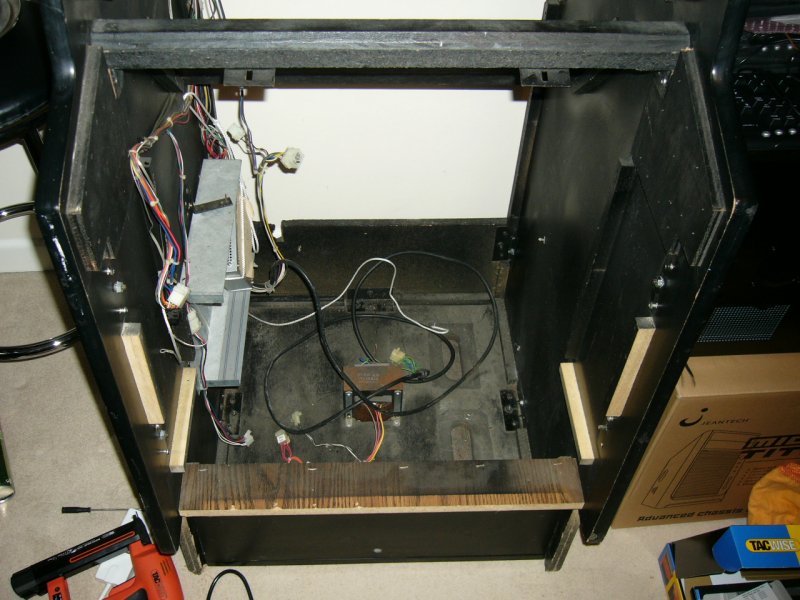
The plan was to move my Swimmer cab from storage into my games room, to make this easy it would involve dismantling the cab to get into my apartment. These are the pictures of it being rebuilt plus a few cosmetic tweaks i did along the way.


Click To Enlarge

The plan was to move this cabinet to my games room.
Click To Enlarge

The base of the cabinet was really chipped, so needed work.
Click To Enlarge

The plan was to use some edging to protect the ends and cover over the damage.
Click To Enlarge

Using a nail gun, the edging was attached to the bottom.
Click To Enlarge

With the base flipped over I could begin re-assembly.
Click To Enlarge

The first side was aligned and bolted onto the base.
Click To Enlarge

The lower kick panel was then cleaned and this was also found to be chipped.
Click To Enlarge

More edging was fitted before bolting back on the base. The result looking good.
Click To Enlarge

The second side was bolted to the base. Ready to fit kick panel.
Click To Enlarge

Here you can see how easy it is to re-assemble the cabinet.
Click To Enlarge

Kick panel fitted as well as the control panel support beam.
Click To Enlarge

Next step, cashbox platform and partition between coin door and rear of cab.